Creating my own website part 3
Today it's time to make the contact tab. Thanks to the practice in the Digital Arts lesson, I knew immediately how to do it, but on the way I still encountered small obstacles.
I started my work by adding social media. I thought about what to add for a long time. However, I focused only on adding a link to the blog, because my facebook or instagram are not professional and would not fit the idea of the site. So I chose the blogger logo design that best suited me and placed a link to my blog. I put the icons on gray at the beginning but then I changed what I will write about later in the post.


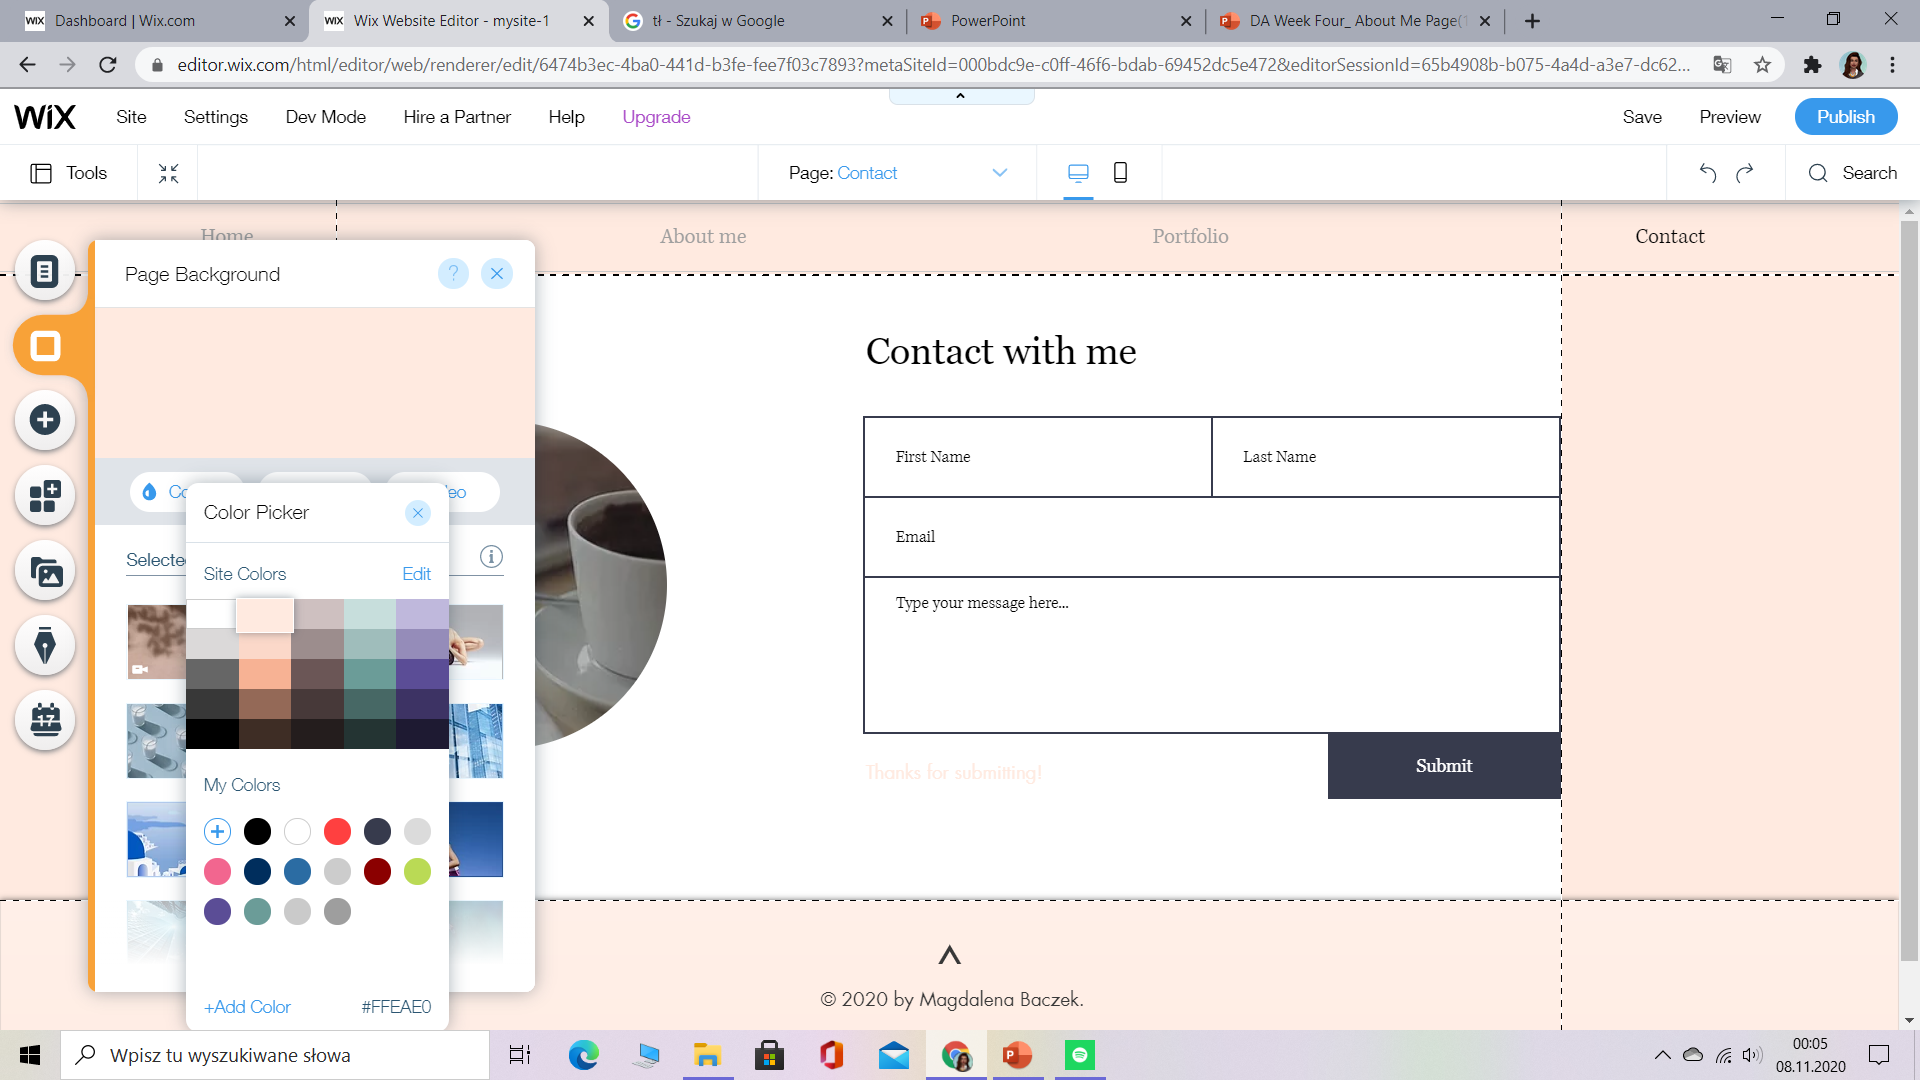
Then I added a contact tool. Fortunately, I did not have to make a template myself, as there were many ready-made ones. For this, the first one that appeared was perfect. The only thing I changed in it was I deleted the tab where you should enter your phone number. I was just not needed. So that it would not look bad, I dragged the e-mail tab into its place. Another change I made was the color of the words "Thanks for submitting!". The green did not match, so I made the pink the same as the background. After a few minutes of replacing, I also changed the font of the subtitles to the same as I have set in the menu.


I decided to put the contact tab on the left side. All I had to do was to somehow incorporate the blogger's icon. I had a few ideas. However, I decided to bet on the one that was the easiest to make. So I started by looking for a ready-made arrow that I could paste. When I found it, I also added the words "Check out my blog". Later I set up the text and below it I gave an arrow that pointed to the blogger icon. However, it did not look satisfactory. So I decided to look at the various Wix options and so I found the perfect solution.


The option I found was called the hover box. As you can see on the screenshots attached, first I chose the circle with the words "follow us". When I started to edit them, it turned out that instead of a photo, I could set a movie. However, after a while, I changed to the second pelicans circle, because after hovering over it, it seemed to have one more circle inside. I started to remake them more. First, I put a video in it that suited the topic of the site. The video I found was from Wix resources, so I used it legally. In the next step, I added an inscription inside this circle as well as a blogger icon which I changed from gray to black because it was more visible in black. I also set this circle in the center to be slightly transparent.


The next change I made was the change of the contact tab. However, I placed it on the right and gave it a circle on the left. I also decided to change the background color to pink and leave only white in the middle.
Finally, I have to save everything and check how it will look in the phone version. So the circle is at the top and the contact tab is at the bottom.


I am extremely pleased with the end result. This is by far my favorite site. I like that it is simple but both effective. I am glad that I found this magic circle because it added all the effect.


good process - well done
ReplyDelete